Intro
Once your awesome Hexo static website is up and running, you may want to deploy it so everybody on the internet can actually read it. fortunately, there are multiple choices, but being myself a humble AWS brainwashed enthusiast, I’m going to introduce you to the github + github actions + route53 + s3 + CloudFront.
Note: Ignore the fact that github is now another service property of the devil himself in the shape of a corporation Microsoft and just follow me on this one, because publishing your website using github will bring you up some useful features.
AWS setup
First things first, you have to go to AWS console webapp and create your AWS account, and set up a specific user for this task; you must not use your root account!
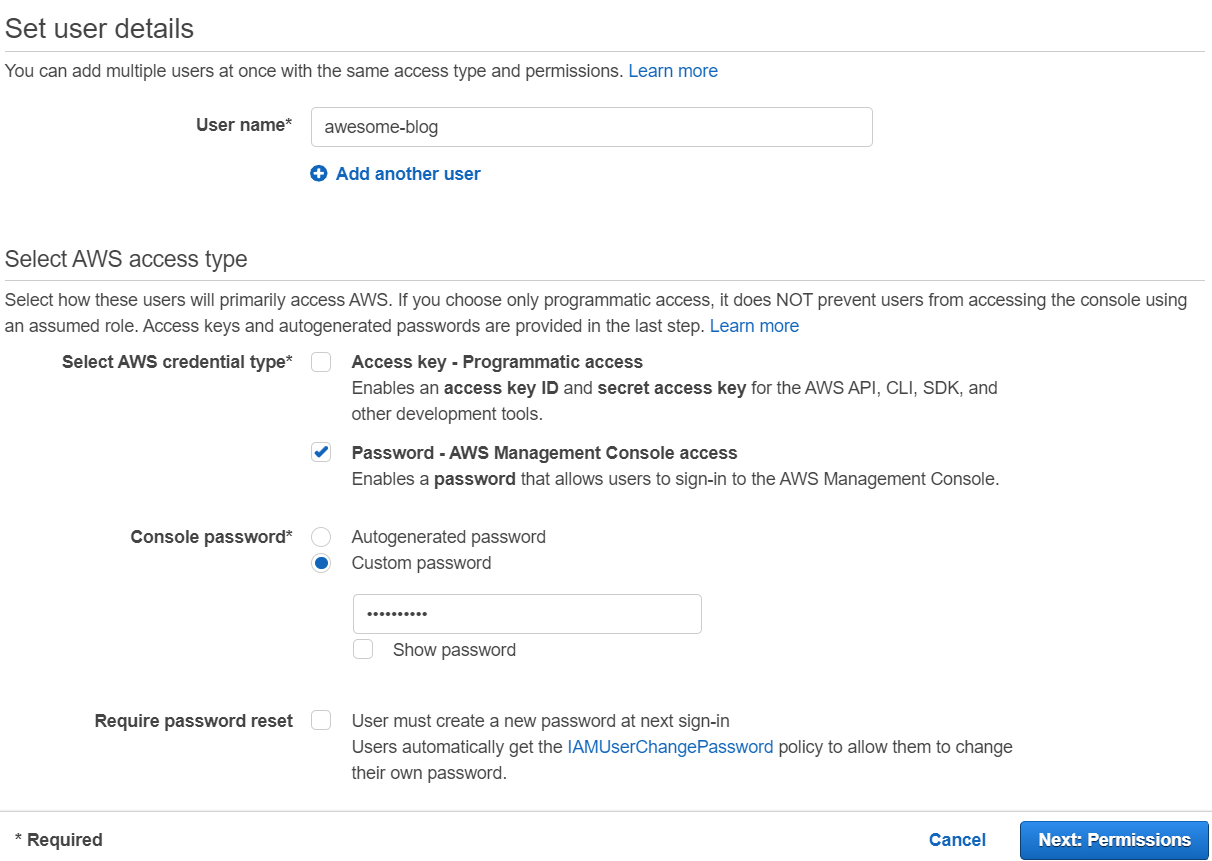
Step 1: Create a new user
Once you’d created your AWS account, go on and sign in, you will see a nice interface, with a top search omnibar. proceed and type IAM.

Then go to users on the left panel under access management and click on add Users; you just have to add a username, and a password policy.
Step 2: Attach necessary policies
After clicking next, you will have to add attach the actual policies for your new user, type the services you need and check each one of them in the contiguous box. For the purpose of this walkthrough, the needed policies are the following (you will actually need a subset of this credentials, but that out of the scope for this post):
- CLoudFrontFullAccess
- Route53FullAccess
- S3FullAccess
SendBitcoinWalletToGuidoTorresMXFullAccess

Step 3: Manage credentials
Once the new user is created, you will have full access to your generated credentials, so secure them before you lost them because you’re never going to see them again (specially if you generated the optional console access keys) and try login in with the secure link shown in the screen.

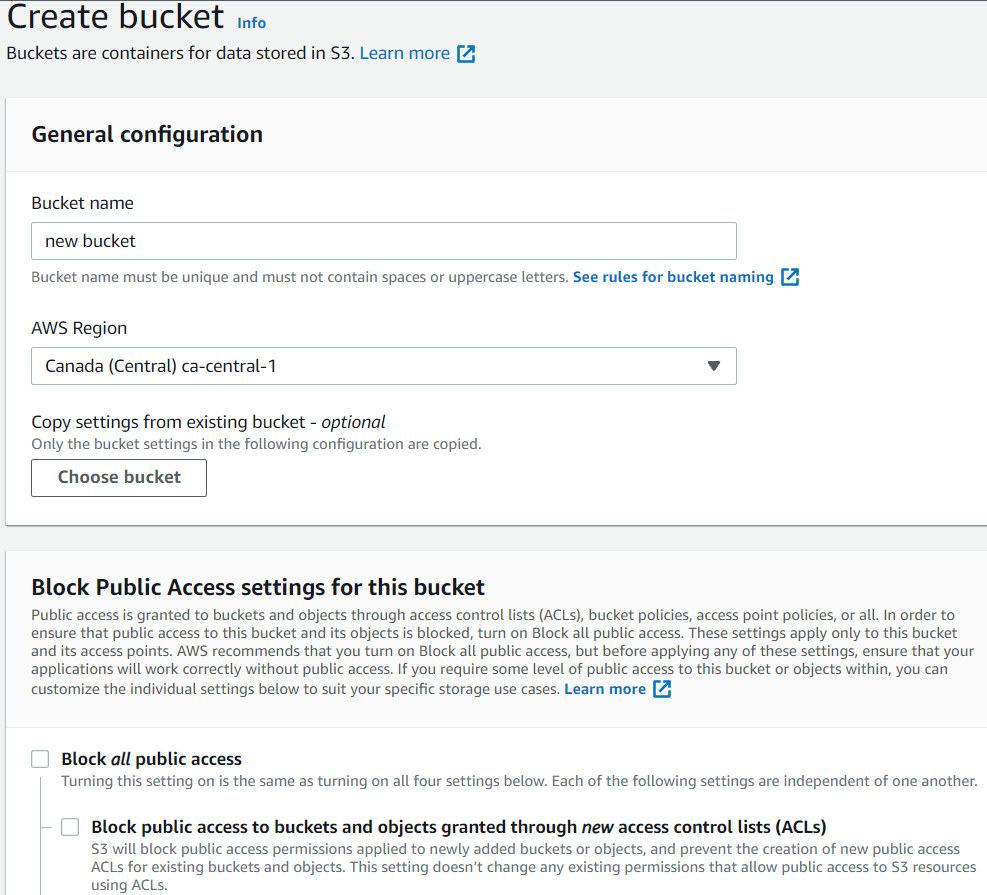
Step 4: Create S3 bucket
The next step is quite easy, just navigate to S3 by search for it in the omnibar of the AWS Console and click on Create bucket. In the next screen choose a decent temporary name for your blog, such as s3-bucket-test (you will certainly not be able to choose that one because your bucket have to have a unique name across all AWS S3 containers online)

Step 5: Buckets and S3 static website hosting
After creating the bucket, select it and go to properties, the navigate to the bottom of the site until the static website hosting section shows up. Edit it and update the fields with the same info showed in the next image:

Step 6: Bucket vs public access
Once the bucket is set, you have to make it available for the outside world, so you have to specify the policies attached to it: go to permissions tab in your bucket and select edit under bucket policy, then copy the next policy in it (protip: replace
{
    "Version": "2012-10-17",
    "Statement": [
        {
            "Sid": "PublicReadGetObject",
            "Effect": "Allow",
            "Principal": "*",
            "Action": [
                "s3:GetObject"
            ],
            "Resource": [
                "arn:aws:s3:::<bucket-name>/*"
            ]
        }
    ]
}
Wrapping up
Once everything is done, you could upload a simple index.html file to your bucket and view it rendered when visiting the site of your bucket. This is nice, but we are far from done and I’m falling asleep I don’t want you to get you overwhelmed, so this walkthrough will become a series of 4 parts 🤷♂️💁.